Total Pageviews

Showing posts with label breville. Show all posts

Monday, June 30, 2014

Total 3-Day Detox

"Let food be thy medicine and medicine thy food." -Hippocrates 

Every few months it's important to take a few days and cleanse your mind and body. We all need it!  Toxins are everywhere... they are in the air we breathe, the food we eat, cleaning products we use... the list goes on and on.  Stress, anxiety, & negativity, also release toxins within our bodies.  It's impossible to live toxin-free, that is why it is so important to take the time to detox.  Every few months I like to follow these seven steps in order to detox my mind & body.  The length of my detox always varies.  It can be as short as 3 days or as long as 7.  You can make it however long you would like but if you are new to juicing I would recommend starting off slow!


Things to avoid while detoxing: 

Solid Foods 
Coffee 
Sodas 
Bottled Drinks 
Alcohol 
Gum 
Smoking 

What to Take in while Detoxing: 

Fresh Juices without pulp 
Water 
Detox Tea 
Hot Lemon Water 


Step One:  Prepare for a Juice Detox.  Try and purchase organic produce while detoxing.  It will help aid the entire process.  I typically drink 6 16oz fresh juices a day during a detox.  I make all of my juices with a Breville Juicer (Not a smoothie maker) and I store the juice in mason jars.   


Step Two: Drink lots and lots of Hot Lemon Water.  There are so many amazing benefits to drinking hot lemon water especially while detoxing! Here are Few of them: 


  • Aids Digestion 
  • Better than Coffee
  • Clearer Skin 
  • Weight loss Aid 
  • Natural Diuretic 
  • Balances PH levels 
  • Boots Immune System 
  • Helps purify and Stimulate the Liver 
  • Flushes Unwanted Materials
  • During a juice detox, lemon water helps dissolve mucus and toxins from our cellular tissue!!!


Step 3:  Drink two cups of Detox tea a day when detoxing.  I prefer the Yogi tea... You can purchase it at almost every grocery store.  This tea is fantastic! Perfect for when you've had too much of a good thing over the weekend.  I especially love drinking it when I'm detoxing.


 Step 4:  Take a Detox Bath.  This is personally one of my favorite steps! A friend of mind by the name of Kylie turned me onto this detox bath recipe and I ALWAYS incorporate into my detox process now. Make a relaxing playlist, light some candles, add some rose pedals and enjoy! Go all out... You deserve it!

  • Set aside 40 minutes of your day for your bath (The first 20 minutes are for detoxing, the second 20 are for absorbing all of the minerals in the water) 
  • 2 cups of Epsom Salt 
  • 2 or more cups of Baking Soda 
  • 3 pints of Hydrogen Peroxide
  • 2 ounces of Ground Ginger (or Ginger Tea Bags for less of a mess) 
  • Tea Tree Oil ( I recommend using a small amount of Tea Tree Oil.. it can burn if you put too much)  

Step 5:  Take a break from the internet.  This is such an important step and it's so nice to do this every once in awhile! Spend the time you're detoxing, reflecting on things you are most thankful for in life!  


Step 6:  Write down 5 positive affirmations every morning and every night.  Take this time to reflect on your life.  The things you are thankful for, the things you want to succeed in, your goals, and your ambitions.  We are surrounded by so many beautiful blessings and sometimes we get distracted by our never ending to-do lists.  It's easy to take the small things for granted so use this time reflect and most importantly take this time for yourself.  


Step 7:  Relax your mind and meditate.  Spend a little extra time over these next few days praying, and quieting your mind.  Like I said earlier, toxins do not only come from bad food and cleaning products, They also come from stress and anxiety.  Take a hot yoga class, or before bed spend some time in a peaceful room alone reflecting on your life and the things you are most thankful for! It will make all the difference in the world. 


And there you have it! All the necessary step to a successful 3-Day Detox. Hope you all enjoyed this blog!

If you need recipes for your Juice Detox, You can check out my 50+ Juicing Recipes and My Super Green Detox.  


XoXo, 
Ashley

For Daily Tips and Recipes follow me on: 

Instagram: ashleynicolemora1 
Twitter: MissAshleyMoora 


Wednesday, May 14, 2014

Juicing vs Blending


 Juicing is still a new concept for a lot of us therefore, I thought this week I would write about what juicing really is and how it’s different from blending. People tell me all time, “I just started juicing this weekend and I love my Nutribullet!” Although I too love my Nutribullet, using such like products is not considered to be “juicing” So this blog will be entirely dedicated to breaking down the difference between juicing and blending.


What is a juicer?

The sole purpose of a juicer is to extract the water and nutrients from fruits and vegetables. The produce will be fed through a strainer, which extracts all the liquid. Once the juicing process is done, you’re left with a liquid version of all your fruits and veggies making it a lot easier to get your daily dose of nutrients. (Plus, it’s a lot easier to down a quick glass of veggies rather than trying to sit down and eat an entire plate full of vegetables!)  Juicing fruits and veggies provides us with a hefty dose of antioxidants, vitamins, and minerals that immediately nourish our cells.  When you are juicing your final product should be 100% liquid with no pulp. 

Here is a list of Juicers that I recommend.
(I personally use the Breville Juice Fountain)

The Breville Juice Fountain Mulit-Speed $199.99 at Bed Bath and Beyond (make sure and use the 20% off coupon)


The Jack Lalane $99.00 at Bed Bath and Beyond (make sure and use the 20% off coupon)


The Juice Bullet by Magic Bullet $79.00 at Target 


The Black and Decker $31.43 at Wal-Mart 


*** All of these juicers can also be found on amazon and craigslist! 


What is a blender?

Everyone always asks me about the Nutribullet and the Ninja.  Both the Nutribullet and the Ninja are smoothie makers.  What goes into them is exactly what comes out. There is no extracting involved. The main difference between a blender and juicer is the final product.  The texture and taste of a juice and smoothie are completely different. I've tried the same recipe in both a blender and a juicer and they tasted completely different. With a smoothie you are going to be getting more fiber because all of the pulp is left in the drink. 


So which is better….Juicing or Blending?

         Although they are different, the answer is both! 


 Juicing Benefits:
·      No Digestion needed (it’s important to give your digestive system a break every now and then)
·      Disregards indigestible ingredients
·      Makes nutrients more readily available to the body in larger quantities
·      100% Liquid (zero pulp)
·      Nutrients and Vitamins directly go to the blood stream
·      Your body doesn’t need to use a lot of energy to process juice which leaves you feeling more energized
·      Benefits those with weak digestive track 

Blending Benefits:
·      Retains Fiber
·      You can use frozen ingredients
·      More filling than juice
·      Fiber helps balance blood sugar levels


CAUTION: 
All of the recipes on my blog are designed for juicers not blenders.  If you try to duplicate a recipe in your blender, it will probably overflow! You will have to cut the ingredients WAY down in a blender and the taste for my recipes will be completely different as a smoothie because they were intended to be made as juices. 


I hope this helped! If you have any questions feel free to leave a comment! 

XoXo, 
Ashley

For Daily Tips and Recipes follow me on: 

Instagram: ashleynicolemora1 

Twitter: MissAshleyMoora 


Wednesday, May 7, 2014

How To Get The Most Out Of Juicing


 This is a picture of a Juice Cleanse I did!


 Juicing is a convenient way to get your daily dose of fruit and vegetables.  A fresh juice is basically just a concentrated dose of vitamins, minerals, enzymes, and antioxidants that is shot immediately into our bloodstream so we can absorb all of the nutrients.  There are so many wonderful benefits that come along with juicing but it can be expensive. So I thought I would share with you some of the ways I get the most out of juicing. 

    The farmers market is the cheapest place to purchase produce and it’s local which is a plus.  I haven’t priced every single thing out but comparing complete trips to the grocery store, the farmers market was by far my cheapest trip.  I also enjoyed shopping at the farmers market because I wasn’t tempted by the cookie or chip aisle like I always am at the grocery store.  There was ONLY fruits and vegetables so I was able to go in, get what I needed, and get out!


 Fruits and Vegetables with a high water content will ALWAYS juice the best! For example apples, celery, and cucumbers are going to produce a lot more juice than kale or spinach.  So that is something to keep in mind when you are doing your grocery shopping.


There is a specific order in which you are able to get more juice when juicing! I have found this order of operation to be extremely beneficial, so I thought I would share :)

1. ALWAYS start with your leafy ingredients first! Spinach, Kale, Mint Leaves, Parsley, Rosemary, Wheatgrass, Cilantro.  These ingredients are going to produce a small amount of juice when you send it thru your juicer.  They are very beneficial but their water content is low.  You never want to save these types of ingredients for the end because they need some help getting pushed out.


2.  Second, if a recipe calls for ginger root, I will send that next.  Ginger is another thing you never want to save until the end to add in.  If a recipe doesn’t call for ginger root, I’ll do things like Jalapenos, lemons, oranges, grapefruit, beets, carrots, bell peppers… pretty much anything that is a little softer than an apple. 


3.  Last but not least you always want to save your hardest produce items for last… and by that I mean things like apples, celery, cucumbers, onions etc.  Saving these things to juice at the end cleans out whatever is hanging out in your strainer, therefore pushing out a little more kale or whatever wasn't fully executed on its own.  


Basically just remember when juicing,  go from softest to hardest!


I hope this was helpful to some of you who have recently started juicing! 

Happy Mothers Day to all the Mommas out there who read my blog! I so appreciate each and every one of you!  Have a blessed week everyone! 

XoXo,
Ashley 

For Daily Tips and Recipes follow me on: 

Instagram: ashleynicolemora1 
Twitter: MissAshleyMoora 
Me and my mom shopping in Florida last year!


 p.s Thank you to those of you who are taking time out of your busy schedule to read my blog! It means the world to me!


Sunday, January 26, 2014

JUICING 101

ITS TIME


It's time for us to take hold of our health.  It's time for us to learn how to say, "NO" to certain foods.  It's time for us to finally start turning our dreams into goals and achieving them once and for all! We must start taking responsibility in order to achieve our goals and by this I mean it's our own personal CHOICE to live a healthy life-style.... or not to.  No one is going to swat your hand when your office brings cookies, candies, and donuts on Valentines Day and tell you, "Excuse me, You can't eat that"... You have to make the concsious decision whether or not that cookie is worth it.

For those of you who are on this juicing journey with me, I wanted to do a little Juicing 101 for all my beginners.  Hopefully this provides a little more knowledge and few more tips and tricks! 


JUICING 101 


I love juicing because it provides me a way to add more fruits and vegetables into my diet which I have never been able to do before.  Previously, I would say that I ate the typical American diet.... I didn't get anywhere close to the recommended serving of fruits and veggies, I ate a lot of foods that were high in calories, sugars, and fats.  When I tried my first juice, I surprisingly loved it and I was amazed at how many vegetables were in the ingredients (and I wasn't able to taste any of them.) Once I started to do more research on the benefits of juicing, I finally went out and bought a juicer...needless to say I have been hooked ever since and my result have been more than amazing.  

So why juice? Our bodies actually naturally break down all of the food we eat anyways, when we are juicing it's kind of like letting our bodies skip a step which gives us more energy (because our body isn't having to work so hard to break down the food) and it gives our digestive system a break as well.  

I get asked alllllll the time, "Why don't you just blend instead of juice?" or someone will tell me, "I juiced this weekend with my blender"  Juicing and Blending are different.  Let me tell you why... when we are juicing we are separating the liquid of the produce from the pulp.  A juicer liquifies everything that goes into the juicer.  The juice part of the produce is what our cells absorb.  So when we make juice it's basically just a big glass of nutrients that goes straight to our cells.  When we are blending, yes we are still liquifying the produce and the fiber is important however it's the juice that our cells need desperately.  The nutrients in a smoothie are not separated like they are in juice.  I personally think juices and smoothies complement each other well and doing a mix of both is great. 


If you are juicing to lose weight, it's best to use produce that is HIGH in nutrients but low in calorie.  Here is a a good list to stick to. 

Bell Peppers 
Parsley 
Kale 
Broccoli 
Spinach 
Celery 
Brussels Sprouts 
Cauliflower 
Carrots 
Cabbage 
Beets (Very Earthy in Juices) 
Pineapple 
Cantaloupe 
Watermelon 
Tomatoes 
Apples 
Strawberries 
Pears 
Oranges 
Grapes 

Preparation
Juicing takes a lot of preparation.  I know when you think of "juicing" you probably think "sweet, now I can throw an entire orange into my juicer and not peel it" 
Ahhh! Please DO NOT DO THIS! You still have to prep your fruits and vegetables before throwing them into the juicer.   You cannot use frozen fruits... even after they have been thawed out (they are usually to squishy).  Bananas cannot go thru the juicer.  If you want to use bananas then you would have to create a juice and then throw the juice and the banana into a blender. 

Here are pictures from my Juicing session this Sunday! 

This one's called 
Fire Me Up! 
Carrot 
Orange 
Lime 
Jalapeno 

Get everything you will need out  (This serves 2)

 Wash your fruits and veggies


Cut off stems... They cannot go thru the juicer

I like to put a liner inside the "trash" bin of the juicer... especially when making multiple juices so that I don't have to clean it every single time it fills up


Assemble your juicer!

You MUST remove ALL peels.  It take less time to cut them off than sit down and peel each one, So typically I just cut off all my peels.


Once peeled, place fruit in the shooter.  Don't turn the juicer on until your shooter is filled with produce. (If you have a small juicer you might only be able to do one fruit at a time) 


I like to keep a grocery bag around that way I can throw all the peels and excess stuff in the bag immediately.  It keeps the kitchen a little more clean and it makes the final cleaning a lot easier.  It's better to keep it all in one place!


You don't need to do anything to carrots other than wash them.  Here is a picture of them going into the juicer. 


.... and coming out of the juicer


Oranges need to be peeled... it saves a lot of time to just cut the peels off. 


And into the juicer they go.....


The jalapeno's only require the stem being removed.  Other than that...it's good to go straight in!

End Product

STIR ALL INGREDIENTS TOGETHER 

Pour over ice and enjoy :)


 The Fire Me Up was delicious!!! A must try!


RECIPE: Hello Sunshine!

 Pineapple
Kale 
Orange


Kale only needs to be washed and then it can go straight in

Here are pictures of the Kale going in and out... Kale doesn't juice very well and by that I mean not a lot of juice comes out.... So it's better to throw in an orange or an apple first, then Kale, then another orange or apple after.  For some reason it helps the Kale juice better.  


 Remove the skin of the pineapple 


This is how I like to cut up the pineapple before placing it in the juicer


 Stir up!


 Pour and Enjoy! 


I made these for this upcoming week.  This recipe made two big juices and two small juices.

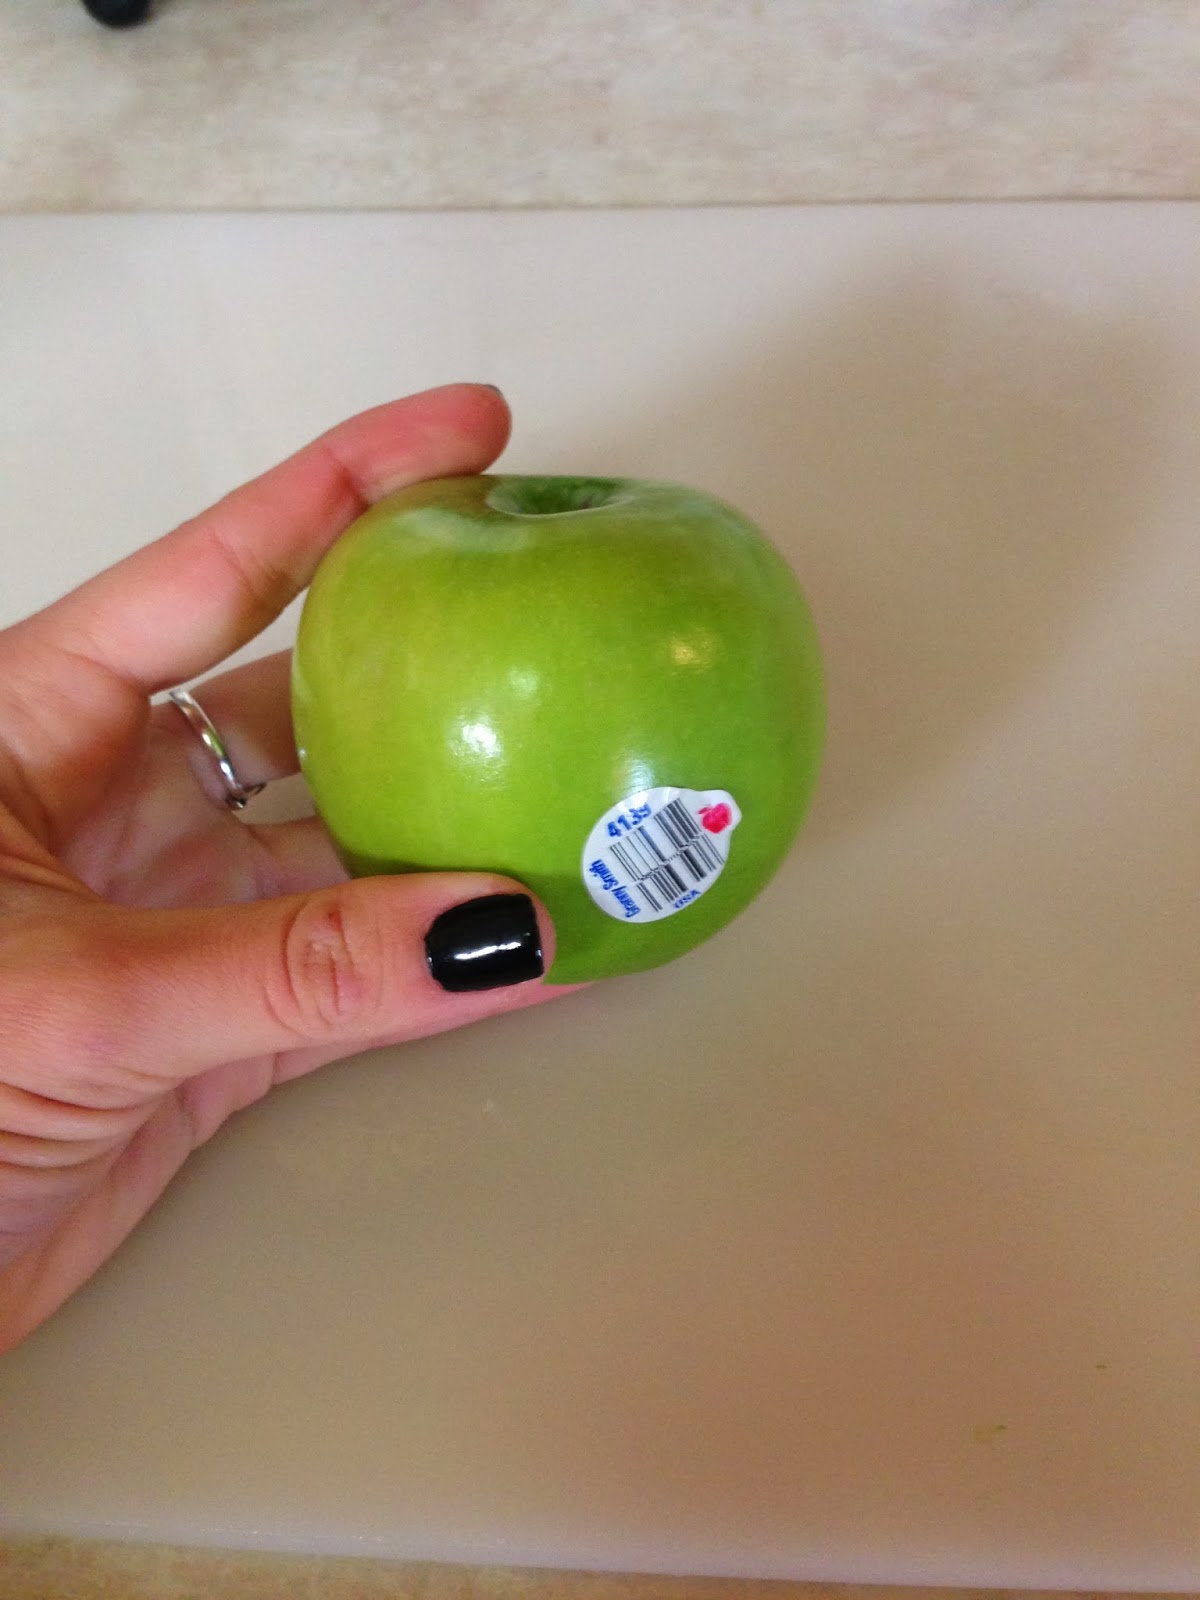
Apples... Makes sure you remove the sticker!

Wash Em'

Remove the stem

Cut em' up

And then they are ready to be liquified!


  Juicing is so much fun! I hope this helped some of you who have just recently started juicing! If there are any other types of fruits or vegetables you have questions about please leave me a comment so I can do a demo in an upcoming blog! 


If I can do it.....


Have a very blessed Sunday! 
Xoxo
-Ashley

For Daily Tips and Recipes follow me on: 

Instagram: ashleynicolemora1 
Twitter: MissAshleyMoora